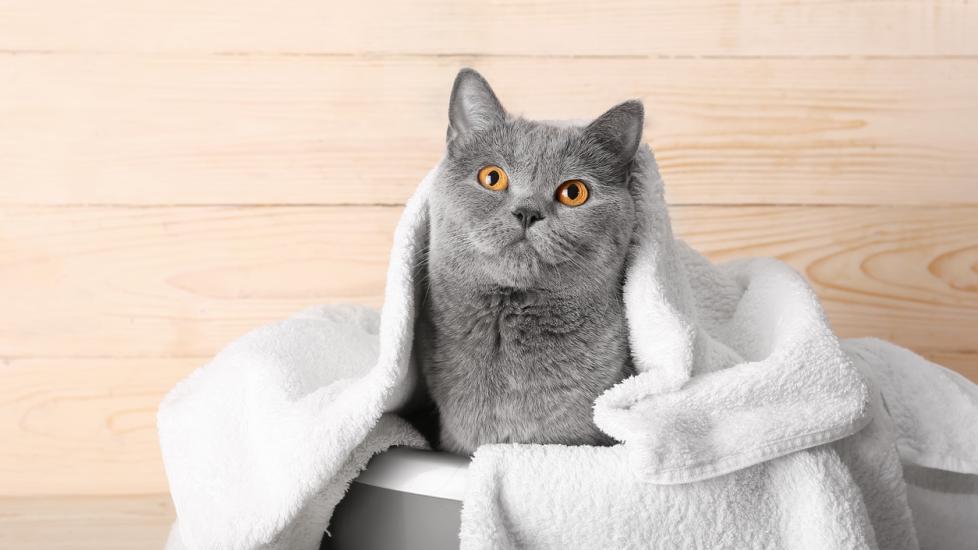
 Cats are known for their meticulous grooming habits, but there’s one area that many cat owners overlook—the ears. Ear cleaning is an important part of your feline friend’s hygiene routine, as it helps prevent infections and keeps their ears healthy. Here’s a comprehensive guide on how to clean your cat’s ears with care and precision.
Step 1: Assess the Need for Cleaning
Before you begin any ear-cleaning procedure, take a moment to observe your cat’s ears. If they appear dirty or if you notice a buildup of wax or debris inside, then it might be time for a cleaning. However, avoid overzealous cleaning; cats have self-cleaning ears, so excessive intervention can do more harm than good.
Step 2: Gather Your Supplies
You will need some simple items for this task:
- A pet-safe, pH-balanced ear cleaner (usually available at pet stores)
- Soft cotton balls or pads (not Q-tips, which can damage delicate inner ear tissues)
- A towel or blanket to create a secure space for your cat during the process
- A pair of gloves (optional but recommended for comfort)
Step 3: Prepare Your Environment
Choose a quiet room where your cat feels comfortable. Cover a flat surface with the towel or blanket, ensuring that it is large enough to wrap around both you and your cat. This cozy setup will help keep your cat calm throughout the process.
Step 4: Handle Your Cat Safely
Gently scoop up your cat and place them in the center of the towel. Use your body to create a warm, enclosed space that makes them feel safe. Speak soothingly to reassure them. If your cat resists, take a break and try again later when they are less stressed.
Step 5: Apply the Solution Gently
Using the provided dropper, apply a small amount of ear cleaner into the ear canal. Avoid getting too much liquid in as it could cause discomfort. Massage the base of the ear gently to encourage the solution to penetrate and loosen any dirt or wax.
Step 6: Wait Patiently
Give your cat a minute or two to shake their head, which will often dislodge most of the loosened debris. Be careful not to let the fluid drip onto the fur around the face, as it may irritate your cat further.
Step 7: Wipe Away Debris
Once your cat has finished shaking, carefully lift the edge of the towel to peek under. Using a soft cotton ball or pad, gently wipe away any excess moisture or debris from the outer ear opening. Do not insert anything into the ear canal itself.
Step 8: Reward Good Behavior
Offer your cat a treat or affection after each successful cleaning session. Positive reinforcement encourages cooperation and makes the experience more pleasant for both of you.
Additional Tips:
– Always read the instructions on the ear cleaner product before use.
– Never use human ear cleaners or products containing alcohol, as these can be irritating to pets.
– If you notice an unusual odor, discharge, or swelling in your cat’s ears, consult with a veterinarian immediately, as these could indicate an infection or other underlying health issue.
Regular ear cleaning should become a regular part of your cat’s grooming routine, just like brushing their coat or trimming nails. By following these steps, you can ensure that your cat’s ears stay clean and healthy, contributing to their overall well-being.
